Balancing, Reassembly, & Testing: An In-Depth Look
In our last motor spotlight we discussed the mechanical inspection, machining, and rewinding procedures that our motor shop follows. This week we will highlight our shop’s processes for balancing, reassembling, and testing your motor to ensure it is returned to you ready for action.
Dynamic Balancing
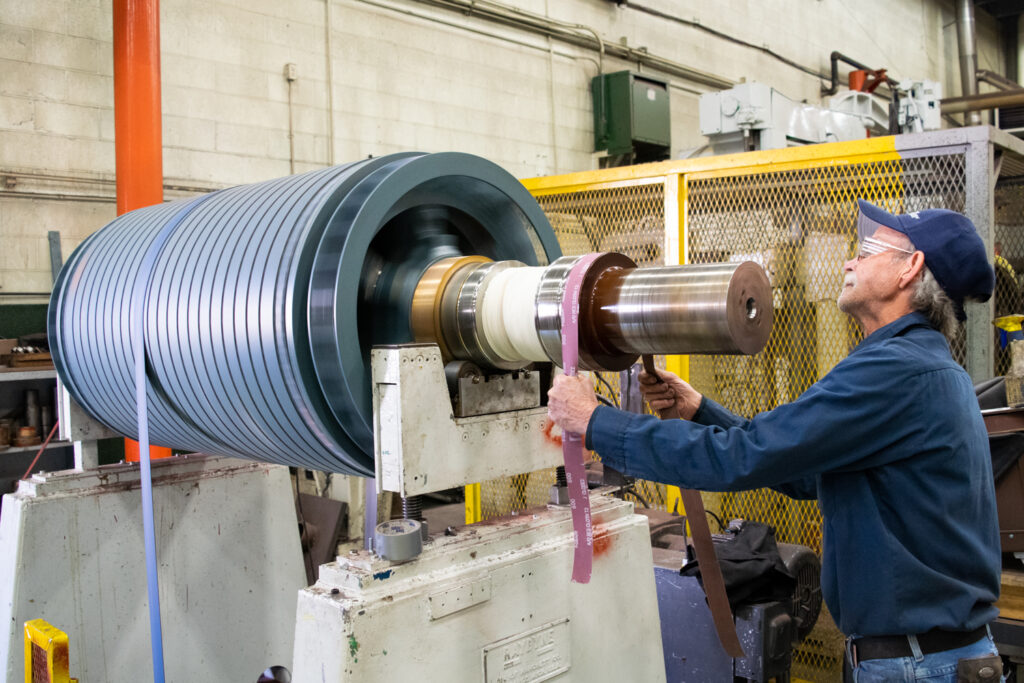
After the rewinding process is complete, we move on to dynamic balancing. First, the rotor/armature is weighed and all measurements are documented. The proper running speed is entered into the balancing instrument, the balance plane configuration is selected, and the rotor/armature is installed onto the balancing pedestals. After the rotor/armature is installed, the belt is secured and the balancing machine is started. The desired balancing RPM is adjusted and baseline measurements are recorded.
Then a trial weight is placed on the left side of the rotor at the desired phase angle. Trial run one is started, completed, and documented. The left plane trial weight is removed and the right trial weight is installed. Then trial run two is started, completed, and all readings are recorded. The right trial weight is removed and the final balance weight is installed. Finally, trim runs are completed until the rotor/armature meets ISO standard 1940-1, G1.0, balancing weights are verified to be secure, and the rotor/armature is painted with class F red insulating enamel and is placed in the staging area.
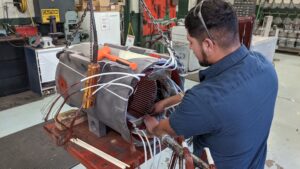
Motor Reassembly (A/C Ball Bearing, Non-UL)
When it is time for reassembly, all parts are gathered and moved into the assembly area. Pre-assembly electrical tests are completed as per EASA AR-100 standards. All parts including the stator, housings, bearing caps, etc. are painted, cleaned, and buffed. The rotor is then carefully installed into the stator. The bearing caps are installed, then the actual bearings are installed and greased to 30% fill (non-oil bath only). Finally, the bearing housings are installed. Endplay and thermal growth are measured and documented and the exterior of the motor is prepped and painted. As a finishing touch, EMC nameplates are installed.
Testing
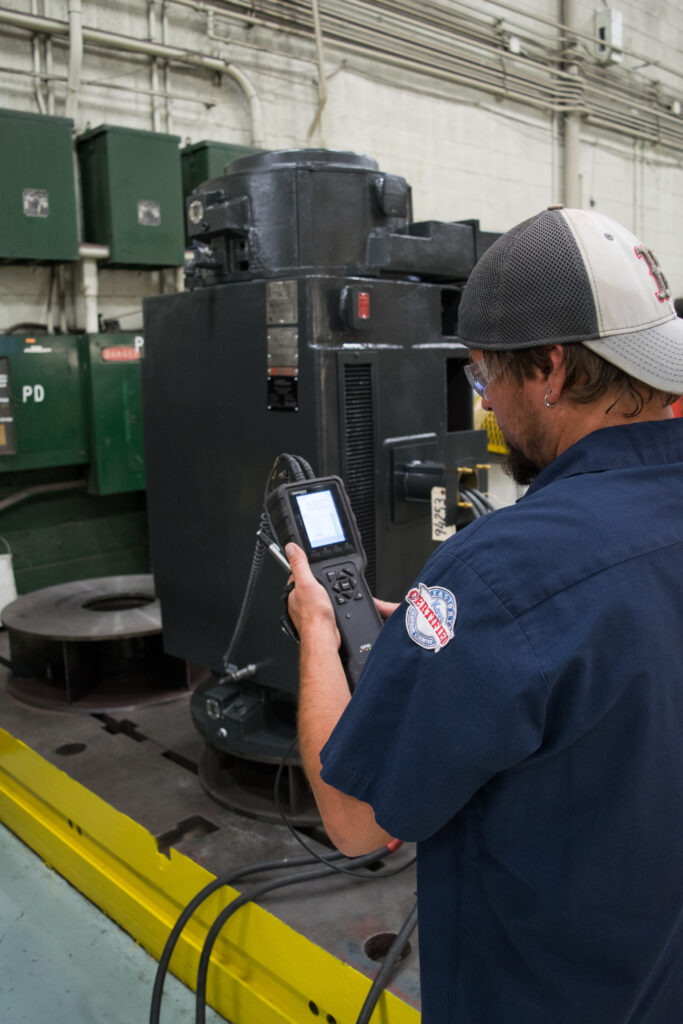
After reassembly is completed, the motor is moved to the testing panel. A vibration round is created for the specific motor being tested. Photo tape is installed on the shaft for taking vibration readings and to verify RPM.
The motor is then externally connected to the proper run voltage. A meg test is completed to verify insulation resistance to ground. Then the test leads are connected to the motors line leads.
The testing area is roped off and guarded to keep other personnel safe and approved arc flash PPE is put on to protect the testing technician from possible arc flash. The test panel is then brought up to full voltage and no-load current, and voltage is measured and documented on all three phases. Next week’s article is the last article in our motor shop spotlight series! We will go over our processes for vibration analysis and painting, and review the certifications our shop holds in order to ensure that our technicians are able to take the best care of your equipment possible.
Check out the other parts of this 4 part series here!
Got More Motor Questions? We Can Help!
Call 800-595-5315 Or Connect With Our Expert Technicians Here:
Other Articles
- Critical Spare Planning

- The Three Most Common Externally Caused Motor Failures
- Remedies For Common Motor Winding Failures


Director of Motor Service
Josh has over 20 years of experience in electric motor repair, as well as welding and machining. He is also an expert mechanic. He is in charge of our motor service centers in all 5 EMC locations.